


Overview
As we progress in this R-Shiny series, the Shiny apps have become more complex and larger. To address these challenges, we focus in this article of the use of Shiny Modules.
In R, functions are essential for simplifying and structuring code, and Shiny is designed to be compatible with them. You have the ability to create UI-generating functions and integrate them into your app, as well as develop functions for the server side that are responsible for defining outputs and creating reactive expressions.
While functions are fundamental in R for simplifying code, they don't completely address the organisation and management challenges in more complex apps. This is where Shiny Modules come into play. They are specifically designed to handle the complexities of larger applications. By establishing a unique namespace for each module, Shiny Modules ensure that input and output IDs remain distinct within each module, thereby preventing potential issues with overlapping IDs.
Introducing Shiny Modules
A Shiny Module is a self-contained, composable component of a Shiny app. Unlike a standalone Shiny app, which can run independently, a Shiny Module is designed to be integrated (nested) into a more extensive application or even within another Shiny Module.
Modules in Shiny can serve various roles, they can handle inputs, outputs, or a combination of both.
Their complexity can range from a simple single output to a more elaborate interface featuring multiple tabs, various controls, outputs, and a network of reactive expressions and observers.
Why use a Module:
- Reusability: Reuse the same code in different apps, or several times in the same app.
- Isolate:
Shiny Modulessegment complex apps into manageable parts, improving organization and ease of development.
Creating a Shiny Module
Shiny Modules are structured like Shiny apps, consisting of two key functions: one for the User Interface (UI) and another for the server logic.

numericInputUI <- function(){} # UI component
numericInputServer <- function(){} # Server logic component
 Tip
TipBest Practice Naming Conventions
- Choose a shared root that describes the module of use, here called "numericInput"
- End the UI function with a suffix like "UI", "Input", or "Output".
Building the UI Module
Task 1 - Return Shiny UI
Wrap multiple elements in tagList(), this is a special type of layout function that allows you to bundle together multiple components without actually implying how they’ll be laid out.
sliderTextUI <- function(){
  tagList(
    sliderInput("slider", "Slide me", 0, 100, 1)
    textOutput("number")
  )
}
Taks 2 - Assign module elements to a unique namespace with NS().
A namespace is a system for organising objects with identical names.
1. Add an id argument
2. Make a namespace function NS()
3. Wrap all inputId's and outputId's with a tagList()
sliderTextUI <- function(id){ # 1. add an id argument
ns <- NS(id) # 2. Make a namespace function
  tagList(
    sliderInput(ns("slider"), "Slide me", 0, 100, 1) # 3. Wrap all inputId's and outputId's
    textOutput(ns("number")) # 3. Wrap all inputId's and outputId's
  )
}
Now we use our Module, into a shiny app
ui <- fluidPage(
  sliderTextUI("one"),
  sliderTextUI("two")
)
server <- function(input, output) {}

shinyApp(ui,server)
Building the Server Module
Next, we tackle the server function.
Grasping the moduleServer() Function
The server logic is encapsulated within the moduleServer() function. It's advisable to name these functions in correspondence with their module UI functions, but with a twist in the suffix: replace 'Input' with 'Output', or 'UI' with 'Server'.
Constructing a Wrapper Function
The moduleServer() function is nested within another function that requires an id argument. This id, together with a callback function resembling a standard server function including input, output, and an additional session argument, is passed to moduleServer().
myModuleServer <- function(id) {
  moduleServer(
    id,
    function(input, output, session) {
    # Insert server logic here
  })
}
Note that moduleServer() takes care of the namespacing automatically: Within moduleServer(id), references to input elements,input$"id", are internally mapped to the namespaced versions NS(id,"id").
TipUnderstanding the Dual-Function Framework
The two-tier structure, consisting of the wrapper function and the moduleServer() function, is crucial. It distinctly separates the arguments for your module from those for the server function. Although initially complex, this dual-layer approach is a reusable template that simplifies developing new modules.
Combining the components into a Shiny App
We will use an example Shiny module using the mtcars dataset, to show how to integrate both components into your Shiny app.
The module will include a UI component to select a column from the dataset and a server component to display summary statistics of the selected column.
# UI component of the module
mtcarsSummaryUI <- function(id) {
  ns <- NS(id)
  tagList(
    selectInput(ns("columnSelect"), "Choose a Column",
                choices = names(mtcars)),
    verbatimTextOutput(ns("summaryOutput"))
  )
}

# Server component of the module
mtcarsSummaryServer <- function(id) {
  moduleServer(id, function(input, output, session) {
    output$summaryOutput <- renderPrint({
      selectedColumn <- input$columnSelect
      if (!is.null(selectedColumn)) {
        summary(mtcars[[selectedColumn]])
      }
    })
  })
}

# Integrating the Module into a Shiny App
ui <- fluidPage(
  mtcarsSummaryUI("summary1"),
  mtcarsSummaryUI("summary2")
)

server <- function(input, output, session) {
  mtcarsSummaryServer("summary1")
  mtcarsSummaryServer("summary2")
}

shinyApp(ui, server)

TipModule reusability
In this example, we use two instances of the same module, demonstrating the reusability of Shiny modules. Each instance operates independently, allowing users to select different columns and view their summaries separately.
Advanced Case: Nesting Modules
Modules in Shiny can incorporate other modules, we then have an inner module and an outer module. The outer module utilises the UI function of the inner module. It's important to wrap the id argument in the ns() function for namespacing.
Step 1: Define the Inner Module
The inner module will allow users to select a variable from the iris dataset.
# UI Function: The innerUI function creates the UI elements for variable selection.
innerUI <- function(id) {
    ns <- NS(id)
    selectInput(ns("selectVariable"), "Select Variable", choices = names(iris))
}

# Server Function: The innerServer function contains the server logic to handle the variable selection.
innerServer <- function(id) {
    moduleServer(id, function(input, output, session) {
        # Reactive expression to return the selected variable
        reactive({ input$selectVariable })
    })
}
Step 2: Define the Outer Module
The outer module will use the inner module and display the selected variable's values.
# UI Function: The outerUI function includes the UI for the inner module.
outerUI <- function(id) {
    ns <- NS(id)
    fluidRow(
        innerUI(ns("innerModule")),
        plotOutput(ns("histogram"))
    )
}

#Server Function: The outerServer function integrates the inner module's server logic.
outerServer <- function(id) {
    moduleServer(id, function(input, output, session) {
        # Accessing the selected variable from the inner module
        selectedVariable <- innerServer("innerModule")

        output$histogram <- renderPlot({
            req(selectedVariable())  # Ensure variable is selected
            hist(iris[[selectedVariable()]], main = "Histogram of Selected Variable")
        })
    })
}
Step 3: Create the Shiny App At last, integrate these modules into a Shiny app.
ui <- fluidPage(
    titlePanel("Nested Modules in Shiny: Iris Dataset"),
    outerUI("outerModule")
)

server <- function(input, output, session) {
    outerServer("outerModule")
}

shinyApp(ui, server)
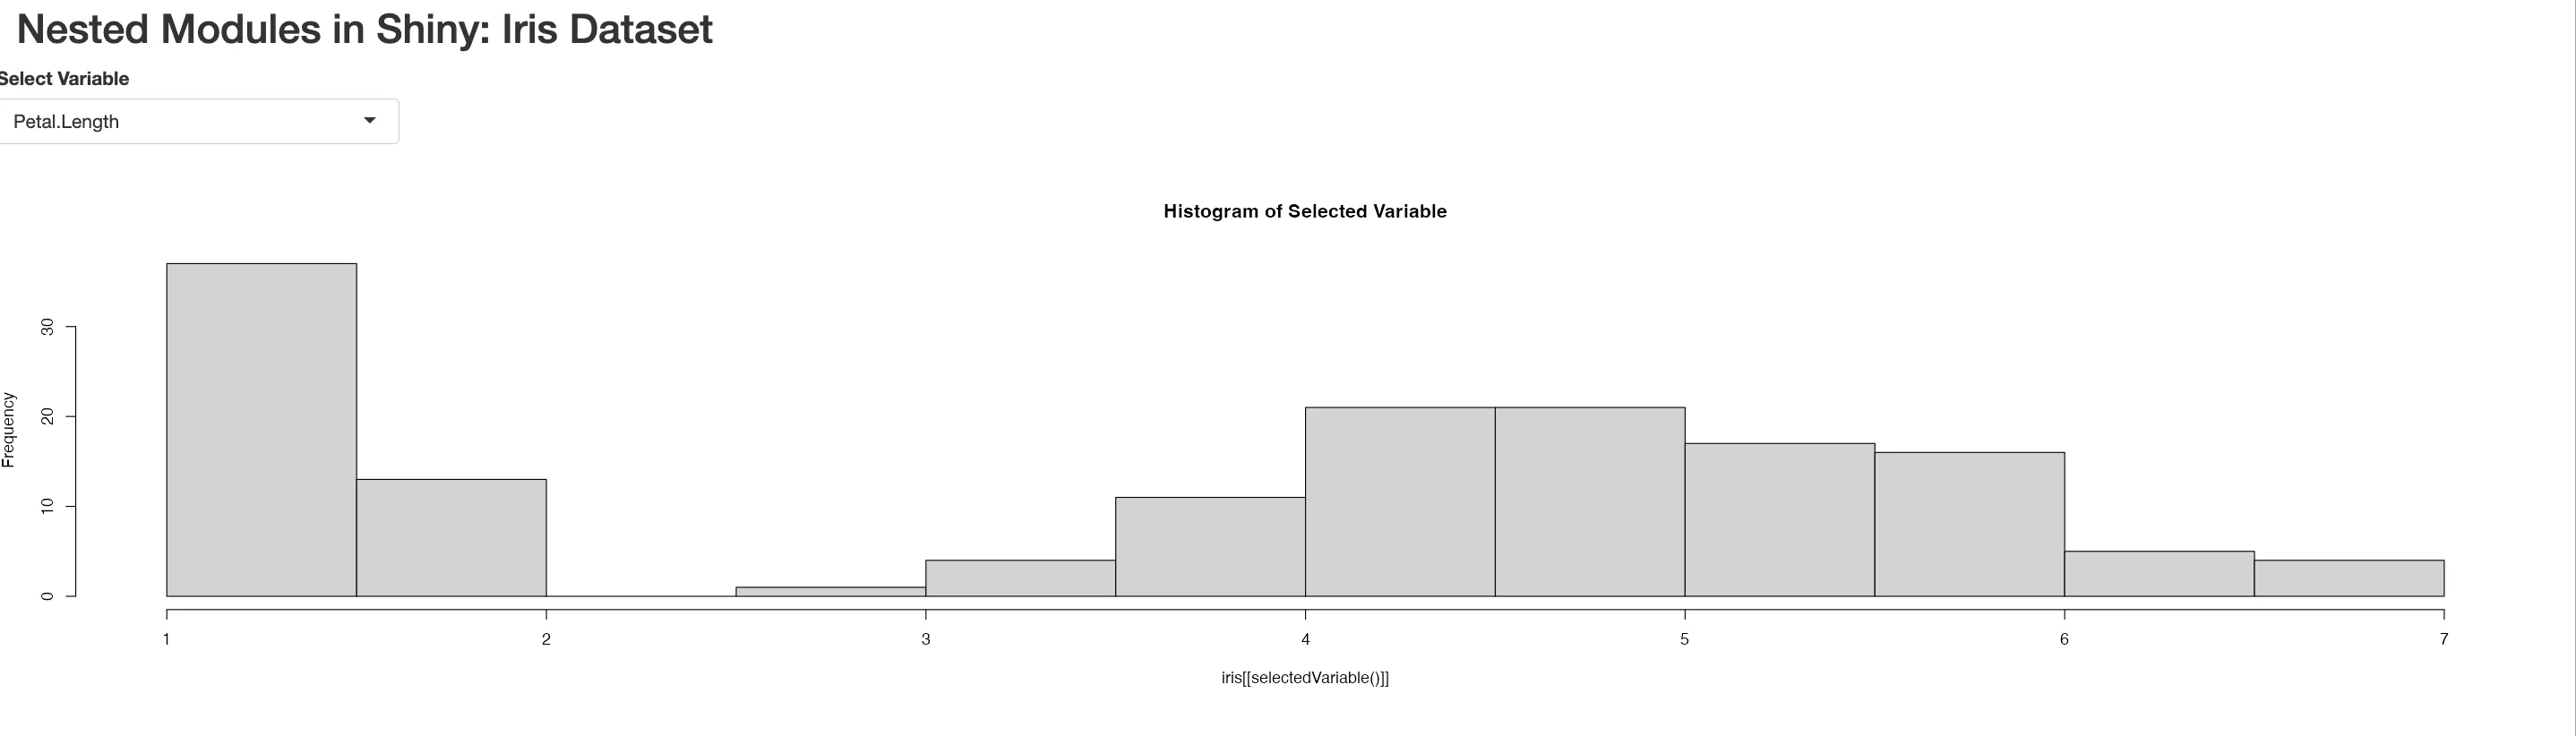
 Example
- The Inner Module lets the user select a variable from the
irisdataset. - The Outer Module uses the output from the inner module to create a histogram.
- The Outer module's UI function calls the inner module's UI function with
ns("innerModule"), ensuring proper namespacing. - The Outer module's server function then utilises the selected variable from the inner module to render the histogram.
 Summary
In this article of the R Shiny series, we've focused on enhancing the functionality of Shiny apps through the use of Shiny Modules.
- Shiny Modules Introduction: Shiny Modules are self-contained, composable components of a Shiny app, designed to be integrated into larger applications or other modules.
- Module Functionality: Modules can handle inputs, outputs, or both, ranging from simple to complex interfaces with various controls and reactive elements.
- Module Creation: We detailed the process of creating Shiny modules, emphasizing the importance of namespacing with NS() to maintain distinct input and output IDs.
- UI and Server Module Construction: The tutorial included examples of building UI and server module components.
- Nesting Modules: We delved into nesting modules, where an outer module uses an inner module.
The next article in the R Shiny series shows how to build a Data Exploration App, showing how to use a Shiny app for pracitcal usage.