


Launch Instance
Although you can also launch instances via the command line, here we show you how to get started with the AWS console in your browser.
-
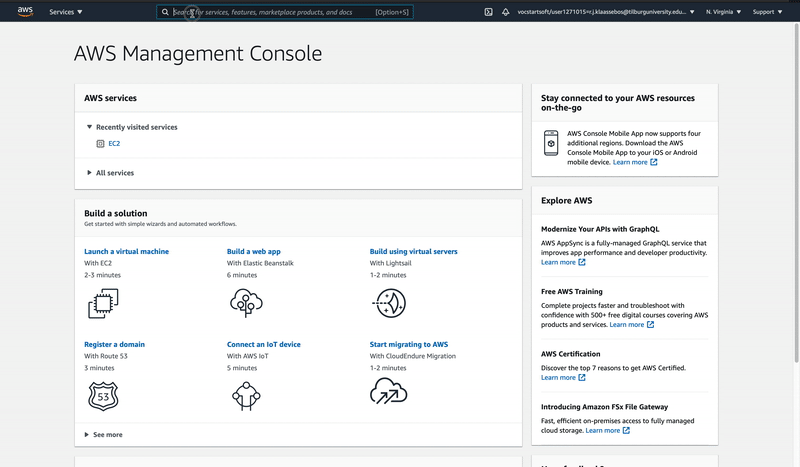
After you have signed in, type “EC2” in the search bar.
-
Click on the orange button that says “Launch instance”.
-
It asks you to choose an Amazon Machine Image (AMI) which is the operating system that will be launched on the system. If you’re just getting started, we recommend to pick one that has a free tier eligible (e.g., Amazon Linux 2 AMI) and click on “Select”.
-
Now it asks you to choose an instance type that fits your needs (i.e., number of CPUs, RAM Memory, network performance, etc.). In other words, how powerful do you want your machine to be? This depends on the computations that you plan on running on the VM. For example, the baseline
t2.microinstance type (1 CPU and 1 GB RAM) is eligible for a free tier and is therefore recommended to get started. Other instance types can cost less than a penny per hour for the most basic offering up to 32 dollars per hour for a machine with 1152GB of RAM and 96 CPUs! -
After you have selected an instance type, click on “Review and Launch” and then on “Launch”.
-
Now you need to create a new key pair which is basically like a password to authenticate yourself and connect with the instance. Give the key pair a name (can be anything) and click on “Download Key Pair”. Store this private key file (
*.pem) in a secure and accessible location because you’ll not be able to download the file again after it’s created. -
Finally, click on “Launch Instances”. If you now return to the instances dashboard page, you’ll see that Amazon is spinning up your configured instance. After a minute or so, the instance state should say “Running” which means we are ready to connect to it!