


Connect Instance
Depending on your operating system and whether you chose to launch a Linux or Windows instance, follow one of the tutorials below.
Linux instance
Mac
-
Click on your running EC2-instance in the console and copy the Public IPv4 DNS address (e.g.,
ec2-XX-XXX-XXX-XXX.compute-1.amazonaws.com). -
Open the terminal and type
export HOST=<YOUR-PUBLIC-IPV4-DNS>(see step 1) andexport KEY=<PATH_TO_KEY_PAIR_FILE>(e.g.,/Users/Roy/Downloads/ec2-key-pair.pem). This creates two variables,HOSTandKEY, that we can reference in our terminal (e.g., if you type$KEYit returns the aforementioned file path). -
Type
chmod 700 $KEYto change the permissions of the private key file. -
Type
SSH -i $KEY ec2-user@$HOSTto connect with the EC2-instance. -
Type
yesif it asks you to continue connecting and hit Enter. If done successfully, it prints the text “EC2” to the terminal followed by the AMI that you selected (e.g., Amazon Linux 2 AMI). So, in short, we connected to an EC2-instance that we can control through our terminal, however, there are no scripts or data on it yet so we first need to copy files to our instance before we can put it to work.
Windows
-
Download PuTTY MSI Windows Installer and follow the installation wizard. If it doesn’t come with the PuTTY Key Generator pre-installed, also make sure to download
puttygen.exefrom the same page. -
Open PuTTy Key Generator, click on “Load”, and select the private key file you downloaded earlier.
-
Click on “Save private key” to convert the
*.pemfile into a*.ppkfile. -
Click on your running EC2-instance in the console and copy the Public IPv4 DNS address (e.g.,
ec2-XX-XXX-XXX-XXX.compute-1.amazonaws.com). -
Open PuTTY (so not the Key Generator!) and enter the following as the host name:
ec2-user@<YOUR-PUBLIC-IPV4-DNS> -
In the left panel, click on Connection > SSH > Auth and click on “Browse” to add your
*.ppkprivate key.
Windows instance
-
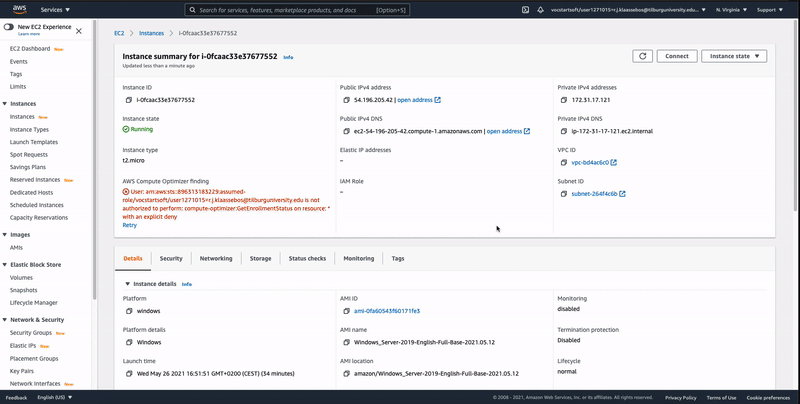
Head over to your Windows Instance in the AWS console and click on “Connect” and then “RDP Client”.
-
Click on the “Download remote desktop file” button to download a rdp file.
-
Before you open the file, click on “Get password”, upload the keypair (
*.pemfile), click on “Decrypt password” and copy the password. -
Now, open the rdp file and login with the credentials (Username = “Administrator”, Password = <see step 4>).