


Overview
A README is like the book cover of your project. It's the first thing a person sees when opening your repository. A great README not only gets people to jump into your project much quicker, but also helps your project to stand out from the sea of open source software on GitHub. Your README thus not only serves for documentation, but also for marketing purposes.
And while we all loathe sleazy marketing, documentation can't be sleazy because it solves a real purpose: teaching everyone about the project. In this building block, we provide you with a template and some examples you can use for your own projects.
Markdown
A README is a markdown (.md) file that you can format text using a plain-text editor. Like an academic paper, we recommend working with headers and subheaders to impose a structure. Better still, if you link to other files within the repository so that the reader not only knows what the project is about but also which files are a priority.
 Tip
TipBelow we list the most common markdown commands:
**This is bold text**= This is bold text*This text is italicized*= This is bold textThis is a link= This is a link- To create a heading, add 1-6
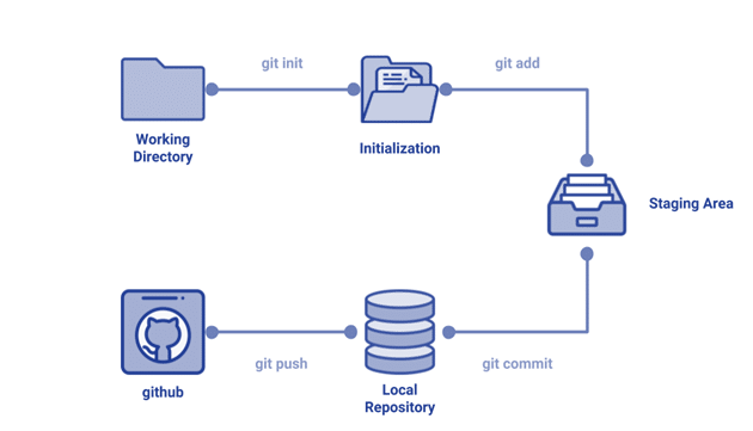
#symbols before your header. The number of hashtags will determine the size of the heading. - Images can be inserted by linking to either an image URL (e.g., example) or a relative file path (
../images/git_workflow.png). Use the following syntax:!image description - Visit this cheat sheet for a comprehensive list of markdown commands.
The Basic Structure
We recommend to include at least the following sections in your README:

# Project title

A subtitle that describes your project, e.g., research question


## Motivation

Motivate your research question or business problem. Clearly explain which problem is solved.


## Method and results

First, introduce and motivate your chosen method, and explain how it contributes to solving the research question/business problem.

Second, summarize your results concisely. Make use of subheaders where appropriate.


## Repository overview

Provide an overview of the directory structure and files, for example:
Rather than creating the repository overview all by hand, you can leverage the tree command to automatically generate the directory structure in the terminal. Mac users may first need to install the tree package (brew install tree).
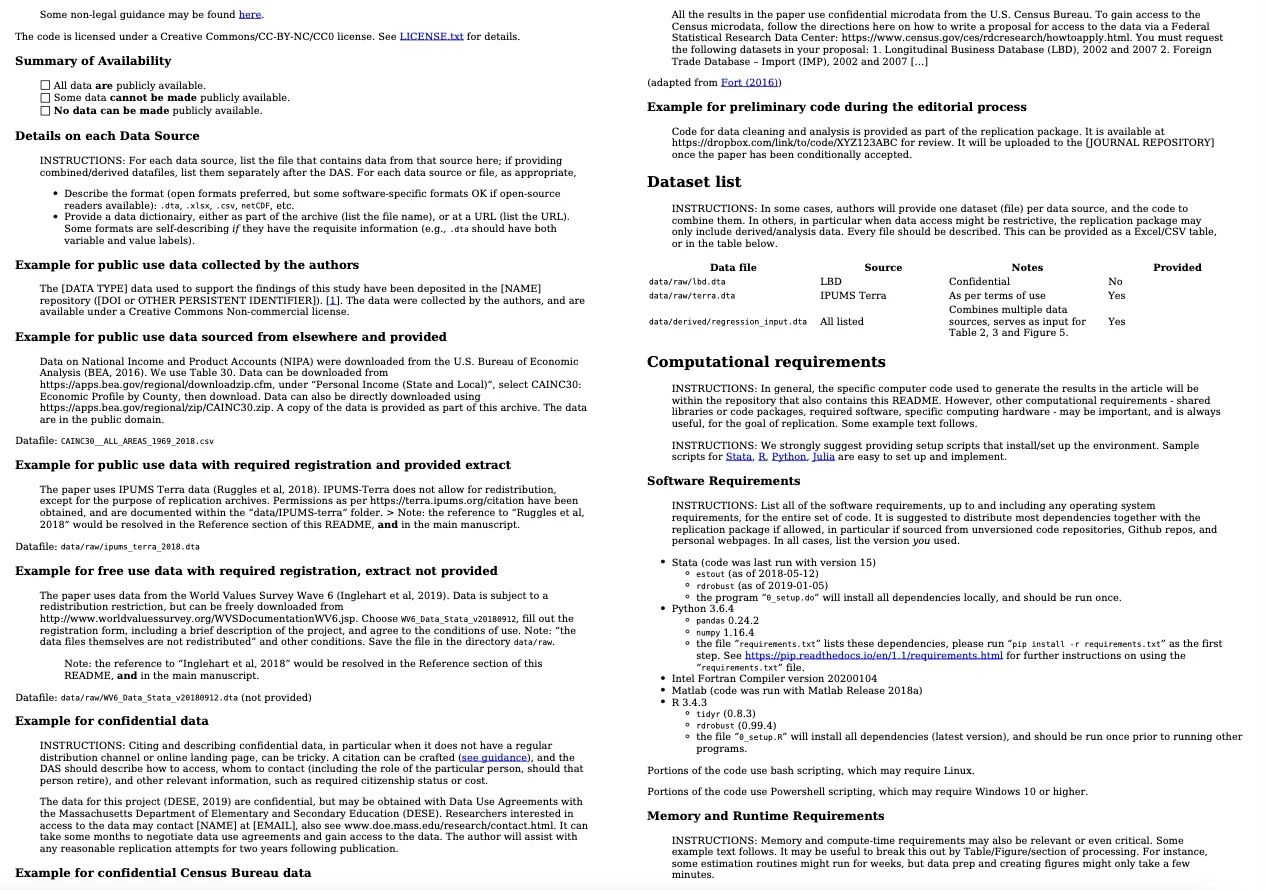
The README Template
We provide a more comprehensive README template - which you can preview in the image below - that follows best practices defined by a number of data editors at social science journals. You can read here the full list of endorsers.
You can always access the most recent version of this template here or download them quickly:
Examples
The repositories below serve as examples from which you can draw inspiration for your own README files.
Advanced Use Cases
By default Github showcases your pinned repositories on your profile page (click on your profile picture in the top right corner > "Your profile"). A little secret is that you can add a README to your profile page by creating a new repository called <YOUR_USERNAME>. Make sure it's public and initialize it with a README to get started. As you can see in this video, you can even spice things up with emojis and gifs!
TipWant to go the extra mile? Include your GitHub Stats Card in your README! Simply add https://github-readme-stats.vercel.app/api?username=<YOUR_USERNAME> to the end of your README to incorporate a real-time widget of your number of stars, commits, PRs, issues, and contributions on GitHub (see example).
TipA useful external resource is Make A Readme. With Make A Readme, you can create READMEs for repositories. Furthermore, it provides suggestions and good tips for good READMEs.
 Summary
-
A README serves as both documentation and marketing for your project, making it essential to create a well-crafted one.
-
Markdown format is the standard for README files.
-
Including key sections like project title, motivation, method and results, and repository overview helps users understand and engage with your project.
-
Providing a directory structure overview makes it easier for users to navigate your repository.
-
Examples of well-crafted README files ar a great source of inspiration for creating your own.